10/28/2021 | Food & Beverage | 8 MINUTE READ
How to Can Water & Ensure Quality is Safe for Drinking in an Emergency
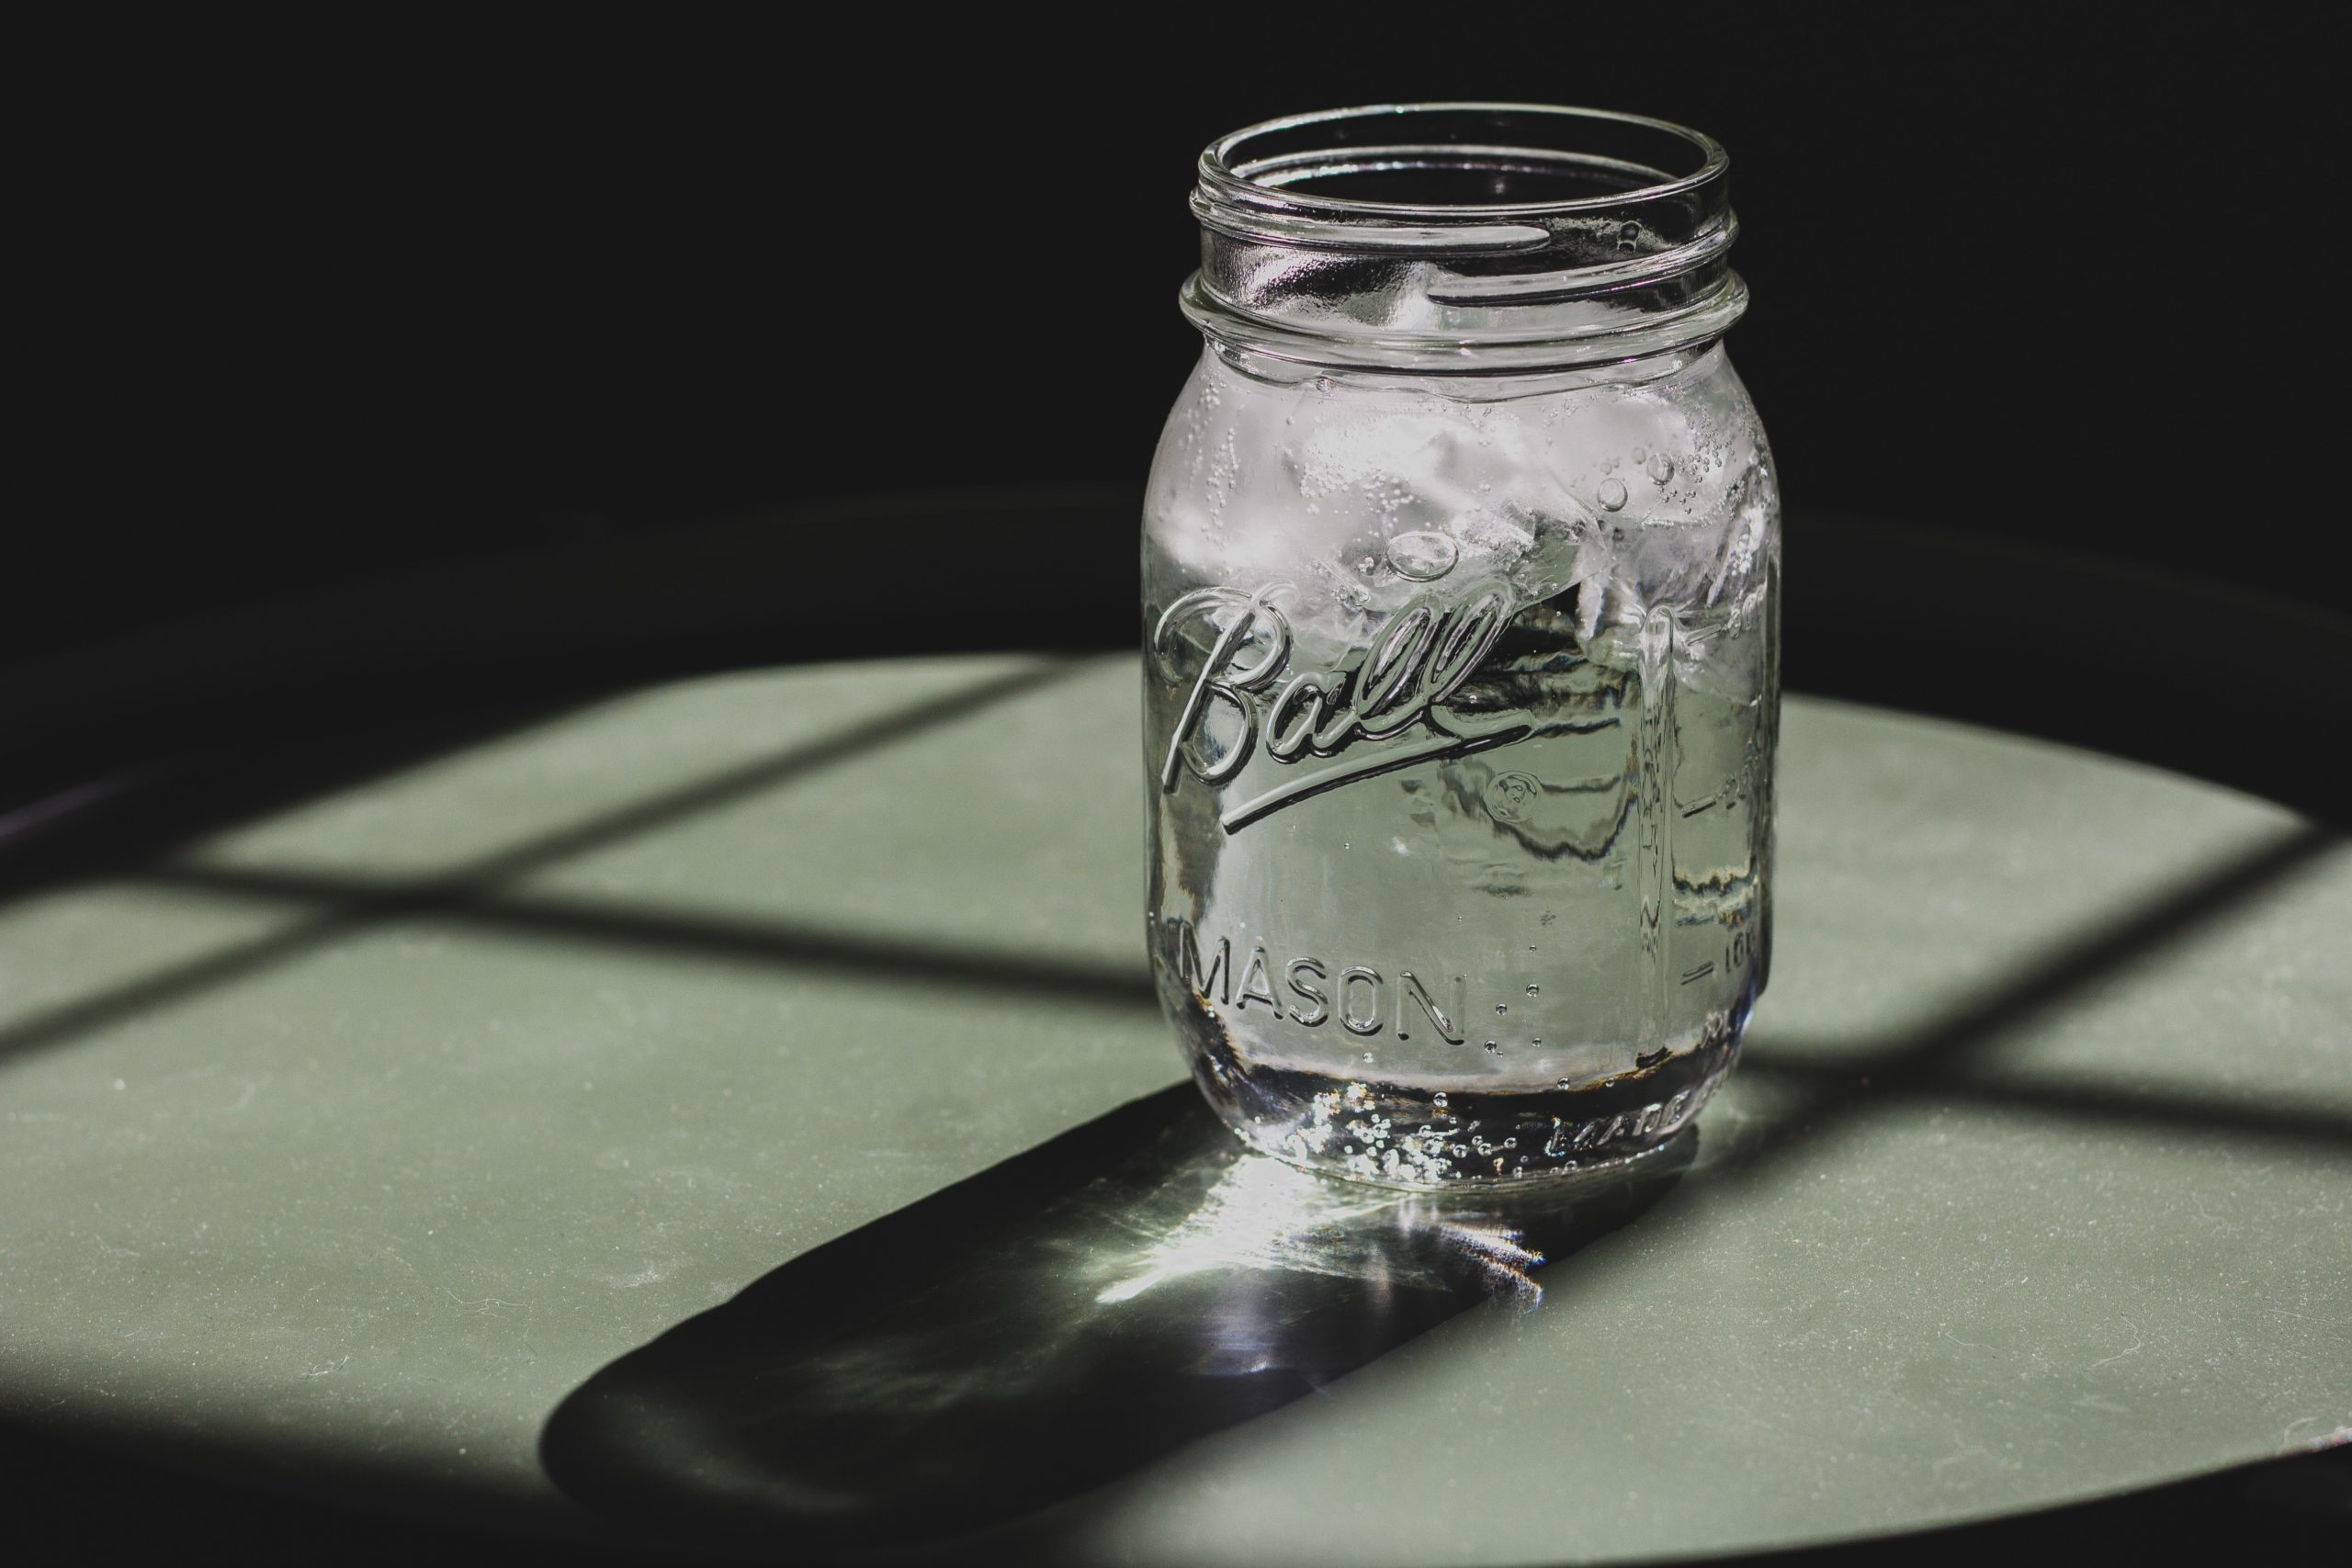
Canning water is a highly effective method of storing water over longer periods of time that anyone can use to make sure they have access to clean water in the event of an emergency. It’s impossible to predict when the power is going to go out or your water won’t be running due to a nearby repair. Regardless of the situation, having access to canned water ensures that your household always has the water it needs.
To understand how important canned water can be, you should know that bottled water only maintains its quality for upwards of one year. After this period of time, the water quality will start to worsen substantially. In comparison, canned water can last for decades without you needing to worry that the quality of the water will suddenly worsen.
The main issue with attempting to store bottled water for lengthy periods of time is that the bottle itself will eventually begin to degrade. Once this occurs, elements of the bottle will seep into the water and cause contamination. It’s possible to bypass this issue altogether by canning your water. All this process requires is some mason jars, boiling water, and a canner.
If you want to be certain that the water you’re placing into mason jars is free of most contaminants, you should consider measuring the water quality with one of the many sensors at your disposal. When measuring the quality of water, you can use an ORP sensor, a pH sensor, a conductivity sensor, or a dissolved oxygen sensor. This article offers a how-to guide on canning water to effectively prepare for future emergencies.
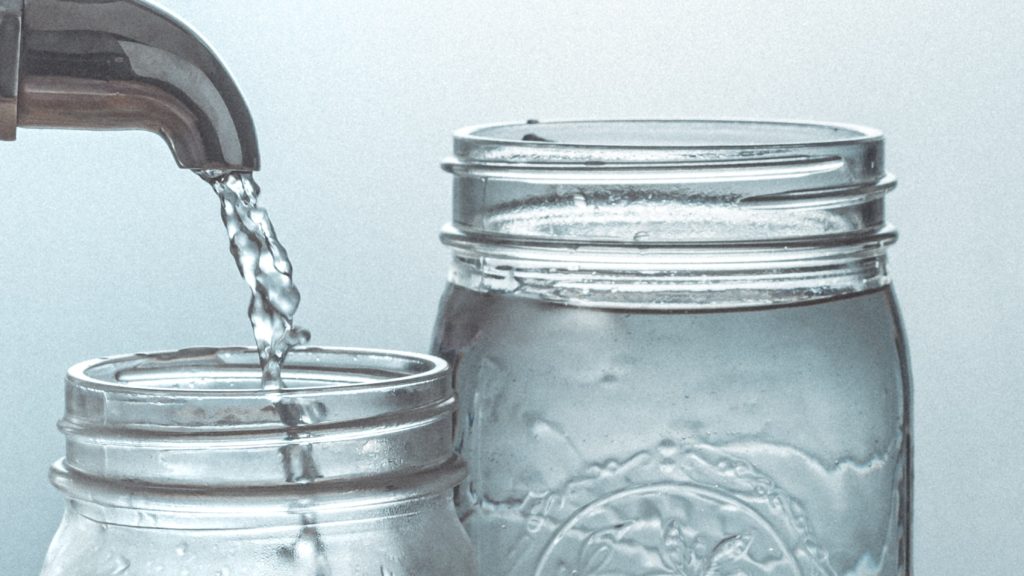
Why Would You Can Water?
The main reason that people consider canning water is because going so will provide access to fresh water in the event of an emergency. Water is essential for your livelihood. If your power goes out, water can no longer reach your faucets from the nearby water main. Even if you live in a home that depends on well water, the well pump may be broken, which means that water won’t be coming up from the ground.
If you’re ever in this situation, you may be able to drive to the store and pick up some bottled water. The main downside to this option is that water bottles may not be as accessible as you might imagine. If a recent storm has caused the power to go out for your entire neighborhood and other neighborhoods in your city, many other people will likely be driving to the store in an attempt to find bottled water, which decreases your chances of finding any yourself.
It’s also very common for the power to go out as the result of a large snowstorm of ice storm. In this situation, getting to the store to get water may be impossible for at least a few days, which would put you in a dire situation if you have no access to water. When an emergency or natural disaster occurs, having water on hand will allow you to avoid the most serious problems that result from the power not being on. If you’re interested in getting started with canning water, there are several techniques that you can use.
Benefits of Canning Water
Canning water can be highly beneficial for several reasons. The main benefit of canning water is that you will have immediate access to water whenever an emergency or disaster occurs. Even if your power only goes out for a few hours, water will be instantly available, which means that you’ll no longer need to stop by the store to get bottled water.
The other core benefit of canning your water is that doing so is far better than purchasing bottled water and saving it for an eventual emergency. As mentioned previously, bottled water doesn’t last for an extended period of time without becoming contaminated, which is why having canned water on hand is considerably more advantageous.
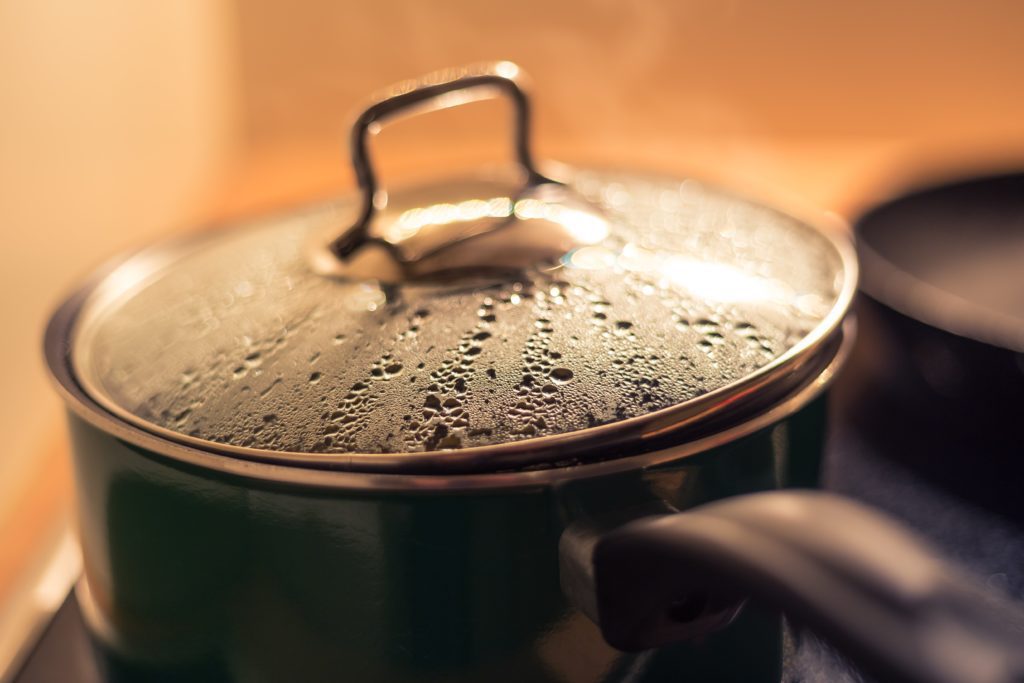
How to Can Water (DIY at Home)
If you want to safely can water at home, there are some things you should keep in mind. One method for canning water requires you to first boil the water, which ensures that bacteria, parasites, and viruses are killed before the water is placed into mason jars. However, other contaminants like salts and heavy metals will remain in the water unless you take steps to get rid of these contaminants.
Even though boiling water before canning it is an effective preservation technique, there are still certain precautions that you should take since water doesn’t contain much acid. First, the water that you place into mason jars must be of acceptable quality for drinking, which means that it needs to be free of debris or filth.
You should also consider filtering the water to remove the vast majority of contaminants, which will improve the water’s taste. If you use this technique, make sure that the water doesn’t contain any nutrients. For the best results, you should use pure water. Aside from the safety guidelines that you should adhere to, canning water is relatively easy.
Simply boil the water for around 5-10 minutes before filling clean mason jars with the water. Keep in mind that the jars should be positioned in a water bath canner, which itself can be placed on the stovetop without issue. Once the water has been boiled and the canner has been taken off of your stovetop, you should allow the canner to cool for a period of 5-10 minutes, after which the mason jars can be removed from the canner.
Before storing these jars, make sure that you place them on a towel or rack, which will allow them to cool down even further. The jars should remain in place for upwards of 12-24 hours, which will allow the lids to properly seal. Performing this technique allows you to effectively vacuum seal the mason jars, which means that the water inside will remain fresh until they’ve been reopened for use.
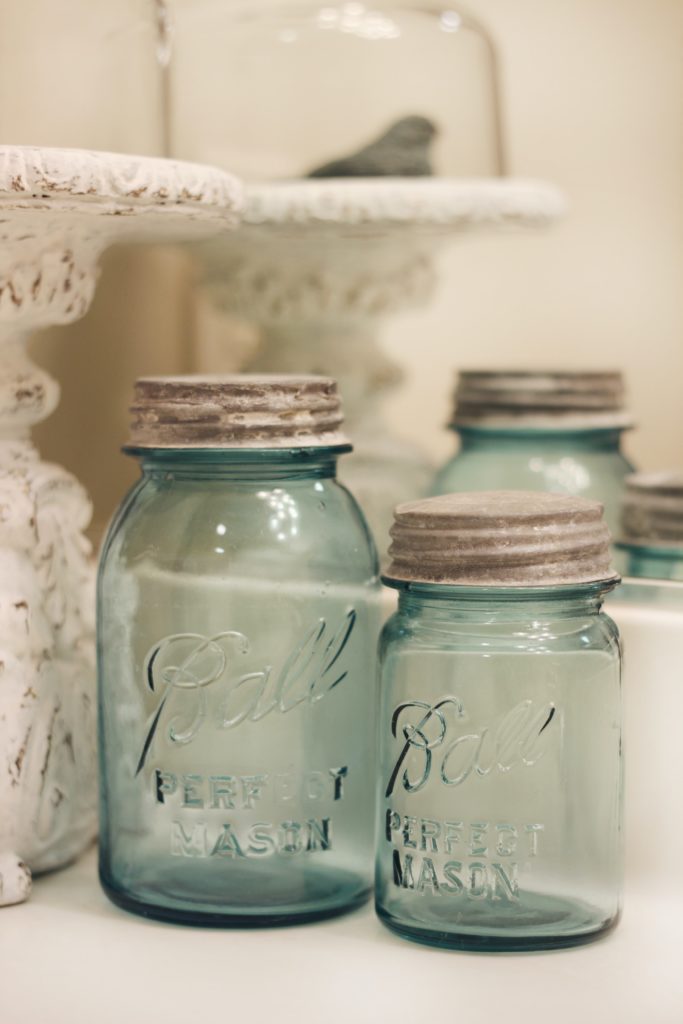
Canning Water Supplies
Even though the process of canning water is straightforward, there are still a high number of items that you should have on hand when completing this process. The main supplies that are necessary include:
- A water bath canner, which can be found in retail stores and on websites like Amazon for anywhere from $30-$200
- A canning rack
- Glass jars, which can be anywhere from 4-64 ounces in size
- Clean lids
- Jar lifter
- Clean towel and washcloth
Along with these supplies, you should also consider purchasing some sensors to test the water for contaminants. While there are a wide range of water quality sensors at your disposal, the readings obtained from pH sensors and ORP sensors should help you determine if the water is at the quality you require.
Canning Water Safety Considerations
As touched upon previously, there are some basic safety considerations that you should take into account when performing the canning process. First, it’s essential that you don’t just use any glass jar that’s lying around. You can purchase empty jars at any retail or grocery store.
While old mayo or pasta jars may seem like they could be used for the canning process, it’s difficult to get these jars clean enough to properly accommodate your water canning needs. It’s also possible that the jars won’t be sturdy enough to avoid breaking from the boiling water being poured into them.
When you’re searching for lids to place on your jars, you should always purchase new lids for each jar. No lid should ever be reused. Doing so would essentially spoil the entire jar of water. With these tips in mind, you should be able to avoid any issues with the longevity or quality of your canned water.
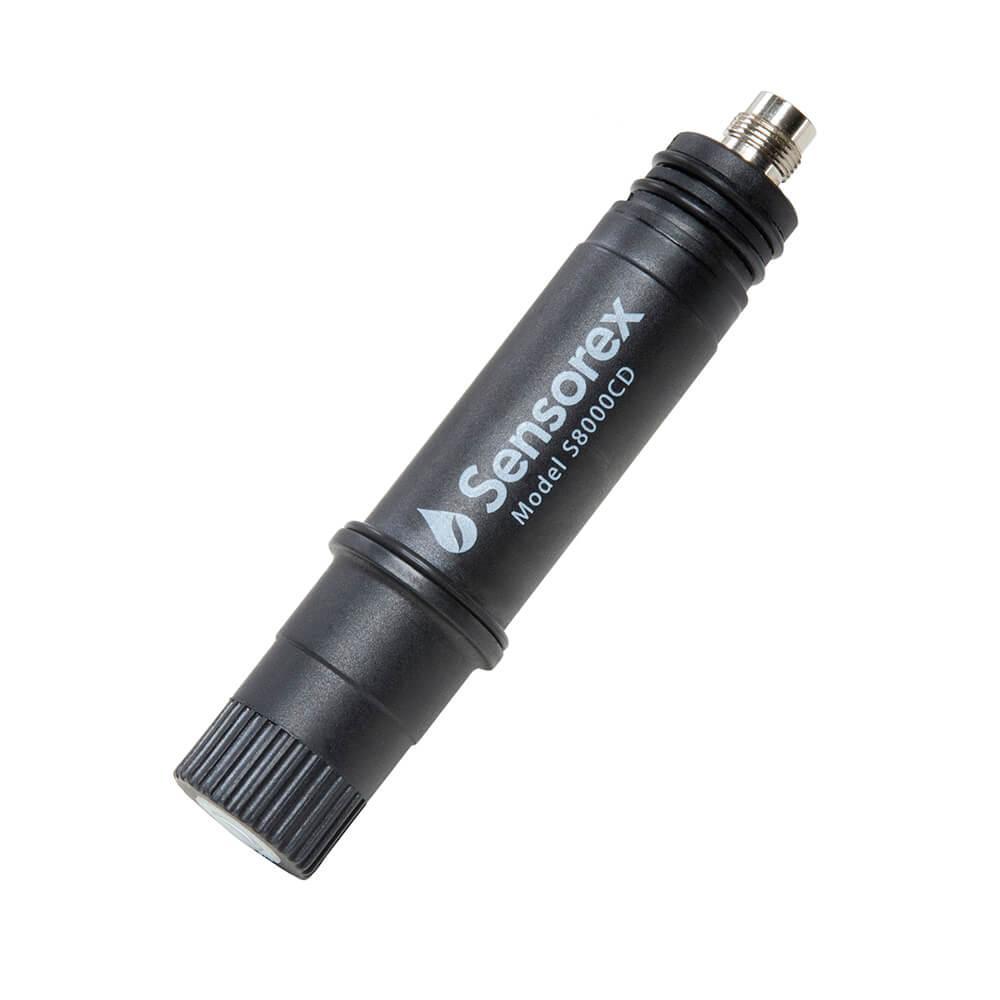
Using Water Quality Sensors to Measure Water Safety
Water quality sensors can be exceedingly useful when you’re getting ready to can water. The water you use shouldn’t contain any nutrients, which means that you will need to use purified water unless you opt for a different canning technique. If you want to be certain that your water is pure and free from contaminants, you should first take steps to measure the quality of your water, which can be done with one of the many different water quality sensors. The types of sensors at your disposal include:
- ORP sensors
- PH sensors
- Dissolved oxygen sensors
- Conductivity sensors
- Free chlorine sensors
- UV transmittance sensors
- Carbon dioxide sensors
Each sensor will give you the readings you need to determine if the water requires additional treatment before the canning process occurs. Let’s say that you’re using a pH sensor to test the quality of your water. This sensor can give you readings that range from 0-14. Every reading below 7.0 is acidic. Each reading above 7.0 is alkaline. If the water is acidic, it’s likely that the water consists of high contaminant levels.
While alkaline water is healthier for you, this water may contain too many nutrients, which is also problematic for the canning process. Purified water will have pH readings of 7.0. If you receive these readings, you can be confident that the water can be used for the canning process without needing to worry about quality issues.
Being able to access clean and pure water whenever you want is something that many people take for granted. However, a simple power outage could leave you without water for days or even weeks. If you want to properly prepare for an emergency well ahead of time, the canning process detailed above is easy to do and will allow you to effectively store gallons of purified water for years.
Posted by Dominic O'Donnell on October 28, 2021
Sensorex is a global leader in the design and manufacture of quality sensors for water quality and process applications. The company offers more than 2000 sensor packages for pH, ORP, conductivity, dissolved oxygen, free chlorine, chlorine dioxide, UV transmittance and other specialty measurements, as well as a full line of sensor accessories and transmitters. Its expert technical support engineers solve analytical sensor challenges with custom designs and off the shelf products.

