06/06/2022 | Industrial Water Treatment | 7 MINUTE READ
Surface Finishing in Light Industrial Applications
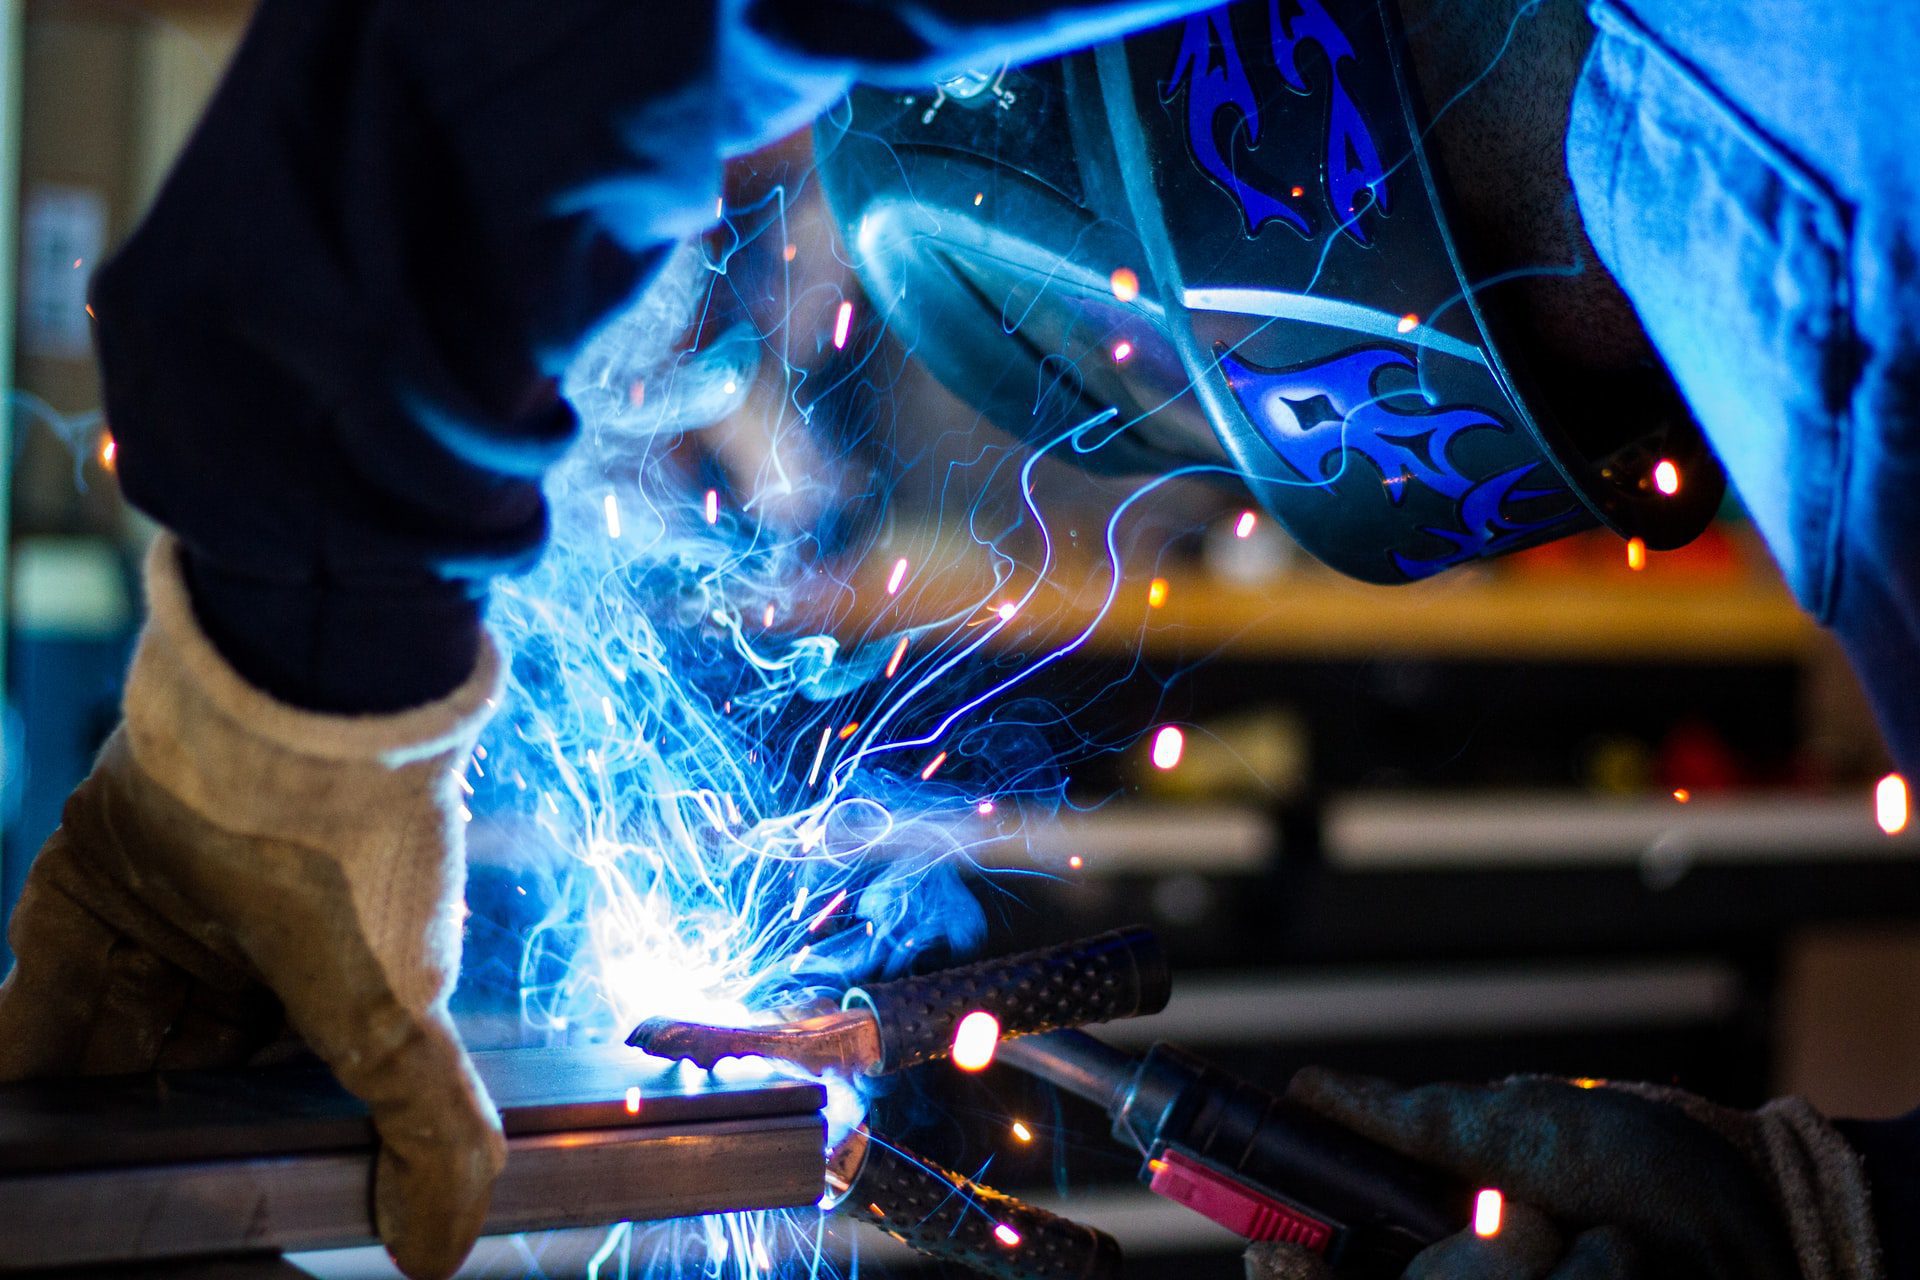
Industrial and manufacturing applications require surfaces to maintain a specific roughness, which ensures that part or component quality remains at optimal levels. A product’s performance and durability are impacted by surface finishing. To understand how important surface finishing can be, keep in mind that rougher surfaces typically go through wear and tear at a more rapid rate when compared to smooth surfaces.
Because the amount of friction on a rough surface is considerably higher than what it is on smooth surfaces, part quality may not be up to a facility’s level of standards. Any issues or irregularities with the smoothness of a surface can lead to the creation of nucleation sites. It’s common for corrosion and breaks to occur around these sites, which results in the material becoming worn more easily.
On the other hand, a small amount of roughness facilitates better adhesion, which can be important for specific materials and items. Among the most important components in surface finishing applications involves water, an ample amount of which is required for surface finishing to be completed successfully. All water that’s used during the plating process must be measured to ensure that a certain level of quality is maintained. These measurements are particularly important for rinse water.
During these applications, conductivity must be measured, which indicates chemical strength as well as contamination level. The ideal sensor when measuring conductivity during the plating and surface finishing processes involves the PEEK toroidal sensor, which comes with a high amount of chemical resistance as well as the ability to measure at higher temperatures. Here is a thorough guide on how surface finishing is used in light industrial applications.
What is Surface Finishing?
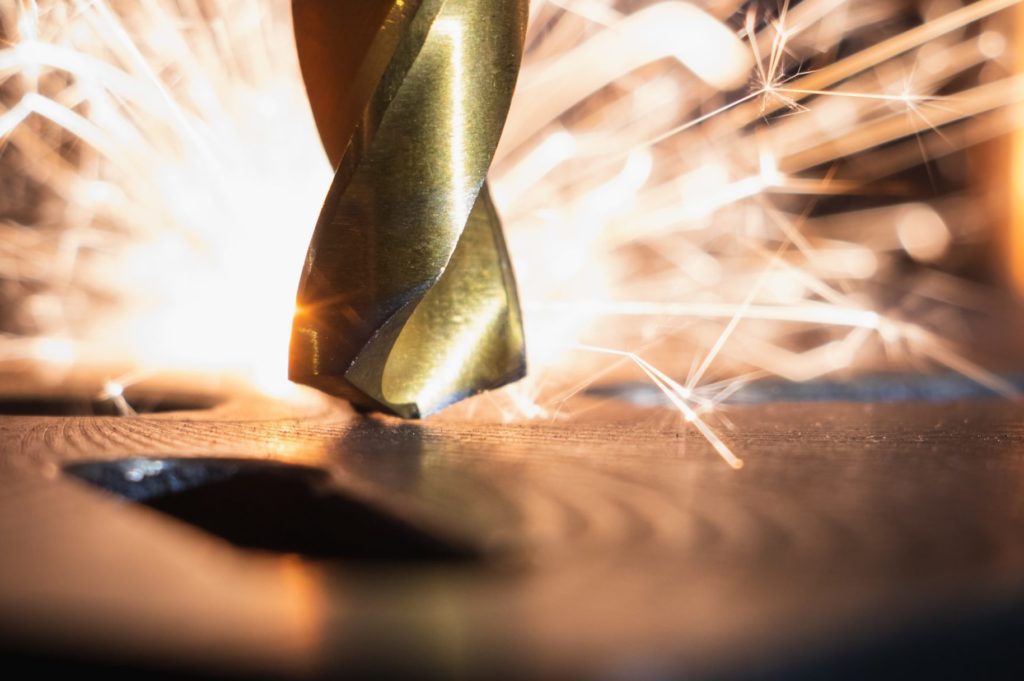
Surface finishing is a common industrial and manufacturing application that refers to a process that changes the surface of a metal by reshaping, adding to, or removing from the metal. The purpose of this process is to add protection to the metal and make it more aesthetically appealing.
The final result of the surface finishing process depends on the specific type of finishing that’s used. There are several different methods that industrial facilities will use to obtain similar surface finishing results. For instance, adding a coat of metal for surface finishing purposes can be accomplished with powder coating, wet painting, or anodizing. While the results of these processes are similar, they do differ somewhat, which can make all the difference.
When an industrial facility adds a surface finish to a metal, the final product will have a better appearance while also lasting for a lengthier period of time. The end-user benefits substantially from surface finishing because of these characteristics. However, certain surface finishing techniques can benefit manufacturers as well. For instance, brushing a surface before paint is applied allows for better adhesion with the metal. The primary benefits associated with surface finish processes include:
- Improves corrosion resistance
- Enhances metal aesthetics
- Eliminates any surface defects
- Allows paint and other types of coatings to gain better adhesion
- Increases resistance to wear and tear while minimizing friction
- Improves conductivity as well as surface electrical conduction
- Increases chemical resistance
When it comes to light industrial applications, maintaining the right surface finish is essential for making sure that these applications remain reliable and consistent. If precision engineering is necessary during this process, measuring the surface may be the primary component for maintaining surface finish control. Implementing mass surface finishing techniques will allow for many parts to go through this process simultaneously.
Some of the techniques that are used during mass finishing include deburring, brightening, polishing, and descaling. Deburring is a loose abrasive technique that involves parts being tumbled alongside a finishing media in tubs or barrels. The finishing media that can be used throughout the deburring process include ceramic, metallic, organic, and resin-bonded plastic materials.
Surface Finish vs. Surface Roughness
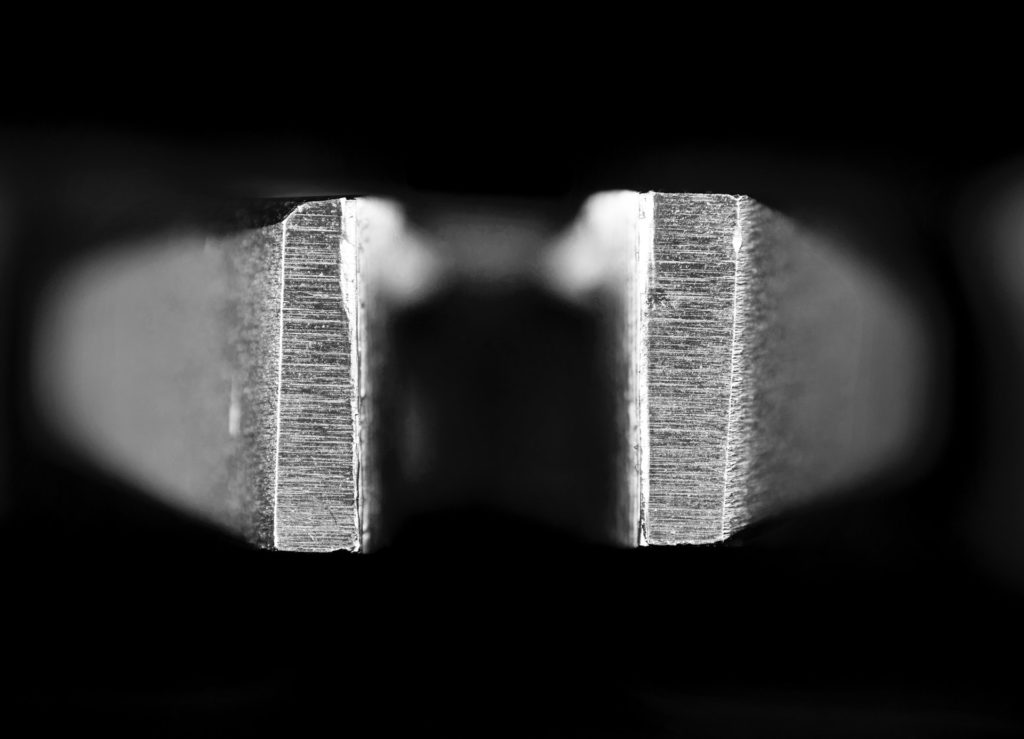
While some industrial facilities use these terms interchangeably, their meanings differ. Surface finish is a term that facilities use to describe a surface’s texture.
Mechanical parts usually come with technical drawings that include surface finish requirements. In the event that mechanical parts are meant to move against one another, create a seal, or fit together tightly, it’s important that the right surface finish is used.
Surface finish is comprised of three separate elements, which include lay, waviness, and roughness. However, many people will only use surface finish to describe surface roughness. The roughness of a surface is only one facet of surface finish. This term refers to irregularities that exist in surface geometry.
Surface Finish Charts and Measurements
Each surface finish comes with micrometers and microinches ratings. These units of measurement have symbols of μm and µin respectively. The following chart displays the most common micrometer and microinch ratings along with their respective surface finishes.
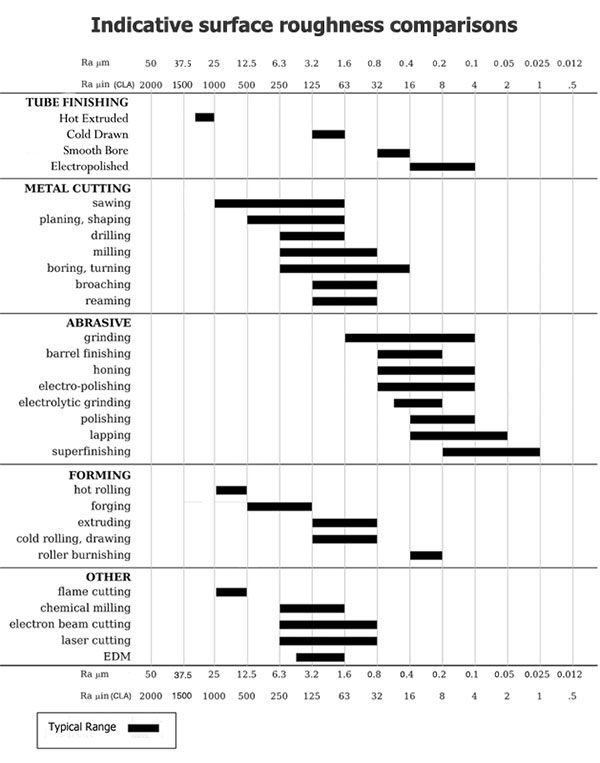
| 25 μm/1,000 μin | These are rougher and low-grade surfaces that are obtained from rough forging or saw cutting. Because of the roughness of these surfaces, they are more suited to unmachined clearance areas. |
| 12.5 μm/500 μin | These surfaces are still considered to have a low grade and a high amount of roughness, which result from heavy cuts and relatively coarse feeds. These cuts tend to be the result of industrial processes like disc grinding, turning, and milling. |
| 6.3 μm/250 μin | This is a surface finish type that occurs from drilling, milling, surface grinds, and disc grinds. As such, they should be used for clearance surfaces that have special design permits or stress requirements. |
| 3.2 μm/125 μin | This type of rough surface is commonly recommended for a wide variety of different parts. Any parts that are subject to high stress, vibrations, and loads could benefit from this surface finish. |
| 1.6 μm/63 μin | This is a less rough finish that is produced under specified conditions. The finish is created using somewhat high speeds as well as fine feeds. |
| 0.8 μm/32 μin | This is considered to be a high-grade finish that requires regular control. This finish is relatively simple to create with surface, cylindrical, or centerless grinders. The surface finish should be used for items or parts that aren’t expected to undergo large loads or constant motion. |
| 0.4 μm/16 μin | This surface finish allows for high-quality surfaces that are produced with lapping, coarse honing, or emery buffing. It can be particularly effective when the part or item needs to have a high level of smoothness. |
| 0.2 μm/8 μin | This is another high-quality finish that’s created with honing, lapping, or buffing techniques. Machinists who use this surface finish will do so where rings are required to slide across surface grain. |
| 0.1 μm/4 μin | This is among the most refined surface finishes that’s typically created with honing, buffing, or lapping. It’s common for manufacturers to use this finish when design requirements call for it. |
| 0.05 μm/2 μin & 0.025 μm/1 μin | This is easily the most refined finish that can be used on a metal surface or product of some kind. The only way to create this surface finish is with the finest honing, buffing, or super-finishing technique, which means that these finishes are costly. These finishes are typically applied for sensitive or fine precision gauge blocks. |
Surface Finish Symbols & Callouts
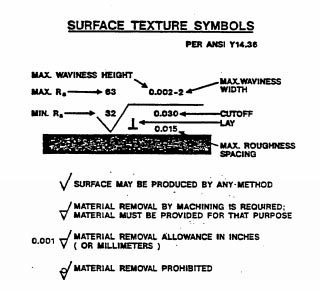
The symbols and callouts that are commonly used in the surface finish industry differ depending on where you live. Outside of the U.S., the International Organization for Standardization maintains the various surface finish symbols and callouts. In the U.S., this responsibility belongs to the American Society of Mechanical Engineers. You can find the primary surface finish symbols and their meanings on the ASME Y14.36M standard chart. Some more ASME surface texture symbols are available with this guide.
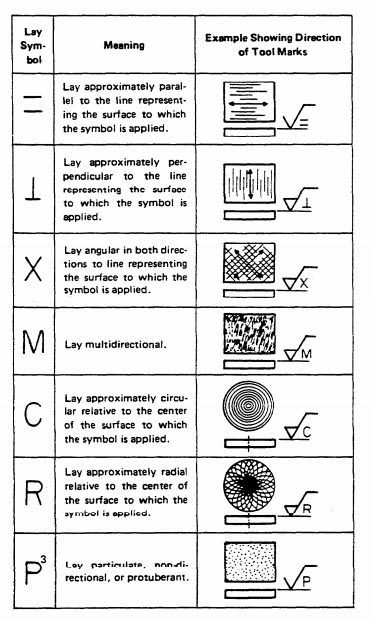
- Equal symbol – Lay parallel to the line that represents the surface
- Upside down T symbol – Lay perpendicular to the line that represents the surface
- X symbol – Lay angular to the line that represents the surface
- M symbol – Lay multi-directional
- C symbol – Lay circular relative to the surface’s center
- R symbol – Lay radial relative to the surface’s center
- P symbol – Lay particulate or non-directional
Conclusion
Surface finishing is a highly effective technique that’s used across many different industries and manufacturing facilities. When properly applied, a surface finish can extend the lifespan of an item while also enhancing its appearance. There are numerous finishes that can be applied to a surface, which is why the charts and symbols mentioned previously are essential when performing surface finishing in light industrial applications.
Posted by Dominic O'Donnell on June 6, 2022
Sensorex is a global leader in the design and manufacture of quality sensors for water quality and process applications. The company offers more than 2000 sensor packages for pH, ORP, conductivity, dissolved oxygen, free chlorine, chlorine dioxide, UV transmittance and other specialty measurements, as well as a full line of sensor accessories and transmitters. Its expert technical support engineers solve analytical sensor challenges with custom designs and off the shelf products.


